
According to Report “Digital 2020”, co-ran by WeAreSocial service and Hootsuite, indicates that 59% of the world population uses the internet. It means that internet advertisement reaches 4,54 bln people. If you take into account that WordPress is one of the most popular content management systems, utilized in creating information services, online shops, contact pages, or blogs – it begs a question about creating and managing advert campaigns in WordPress.
Basic functionalities of WordPress do not offer any support for creating and managing ads or ad campaigns. In what way can you insert ads into your website then? How should you make sure they appear and disappear at predesigned intervals? You may use an AdFoxly plugin to do just that.
Adding Advertisement in WordPress
In our previous post, we spoke about the process of inserting an advertisement into your WordPress website with AdFoxly plugin. Today we want to focus on a specific example of banner ads you may put in two places on your website – before your article and in the right side-bar. Once added, you may apply those banners into your campaign.
Inserting an Ad and Creating New Campaign
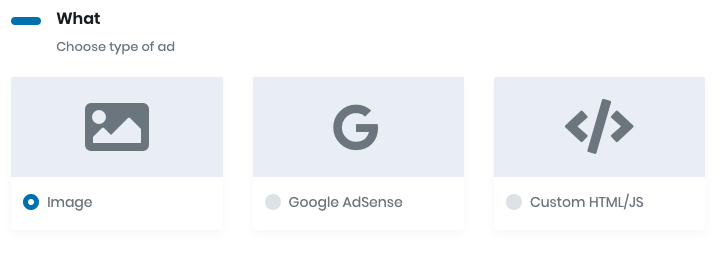
The first step is adding a new advertisement. You should go to your AdFoxly plugin and open a ‘New’ tab. In the advert creator, you select the type of ad: ‘Image’.
What
In section What – Details you select the image that is going to be your ad. You may select it from your Media Library or Upload it. You fill out the forms with basic information about your advert – name it, provide target link, and select whether the advertised page should open in a new tab or in the same tab. You also specify the follow descriptor of your link.
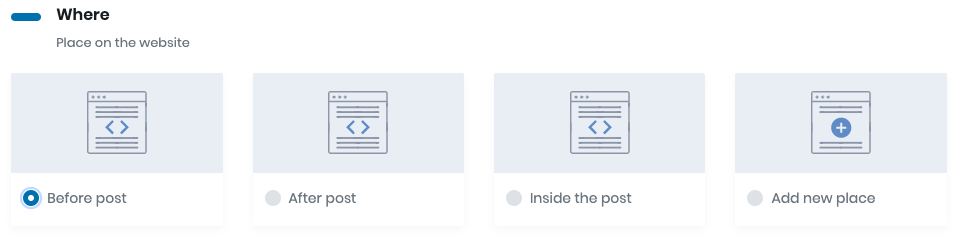
Where
In section Where you specify the placement of your new ad. In this post, we only discuss two placements – ‘Before post’ and ‘Sidebar’. If you’ve already inserted any advert before your posts, the first placement should already exist and all you need to do is select this one. If you have never inserted any ad in this placement you must first create it. You select ‘Add new place’ and then select “Before post” from the list of predefined placements. In section How you may change the name of this placement or leave the default name.
When
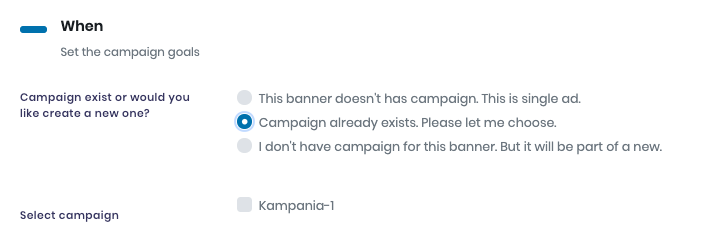
Section When is where you ascribe your newly created ad to a campaign. You have three choices: you may ascribe your ad to an existing campaign, create a new campaign or leave this ad as a single ad, not belonging to any campaign. Here’s how you create a new campaign – first you choose the corresponding option from the list.

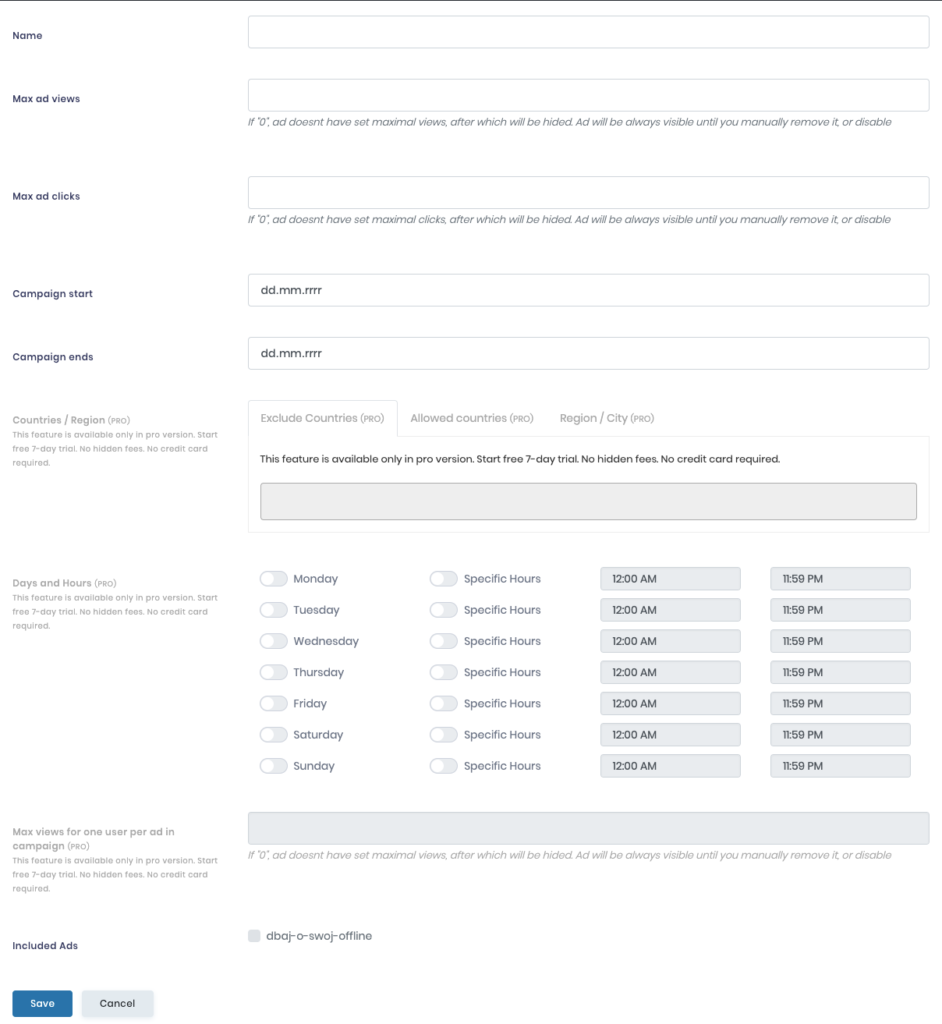
Creating a new campaign during the process of inserting a new advert is simple and only requires adding some basic information. You provide the name of the campaign, or leave the automatically given name, the same as the name of the advert. Then, according to your agreed-upon pricing model, you may define the ‘maximum number of views’ and ‘maximum number of clicks’. If you enter a limit into the form here, the ad will automatically be hidden from your website after this limit is reached. If you leave those fields empty or enter ‘0’, the ad will not be hidden in relation to the number of views/clicks. Then, you only need to enter the date when your new campaign should start and when it should end. This allows you to prepare the campaign ahead of time, while the date-of-end of the campaign hides all the advertisements belonging to it on a specified day. Remember to save the advert and the campaign after you’ll have entered those dates.
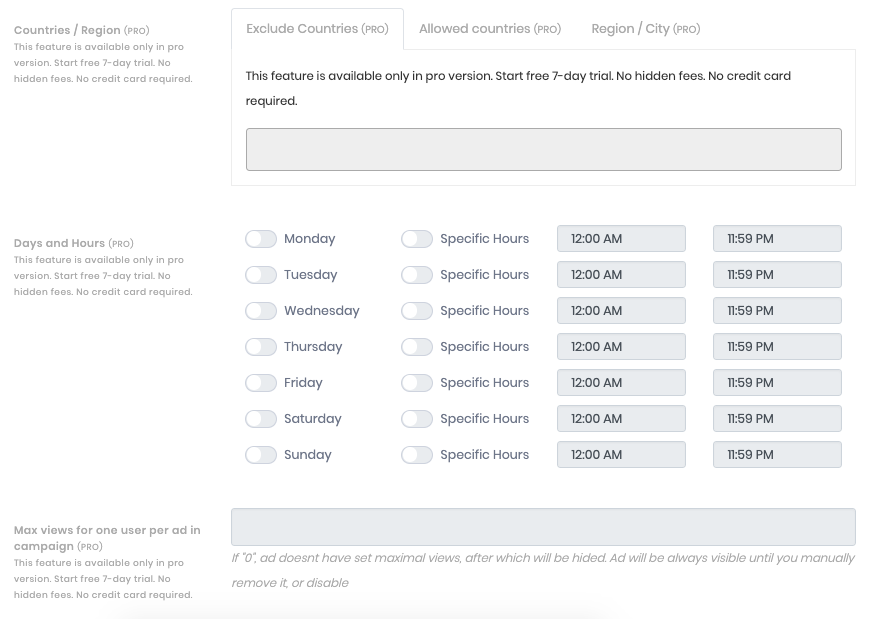
AdFoxly PRO
The PRO version of the AdFoxly plugin allows you to define more criteria for your campaign. With the extended version you may decide about the country or countries, or regions where the campaign will be visible, or in which countries it will not be visible. It also makes it possible to specify days of the week or hours, during which the campaign will take place, as well as the maximum number of times one advertisement will be displayed within the campaign.
How to Include a New Ad in an Existing Campaign?
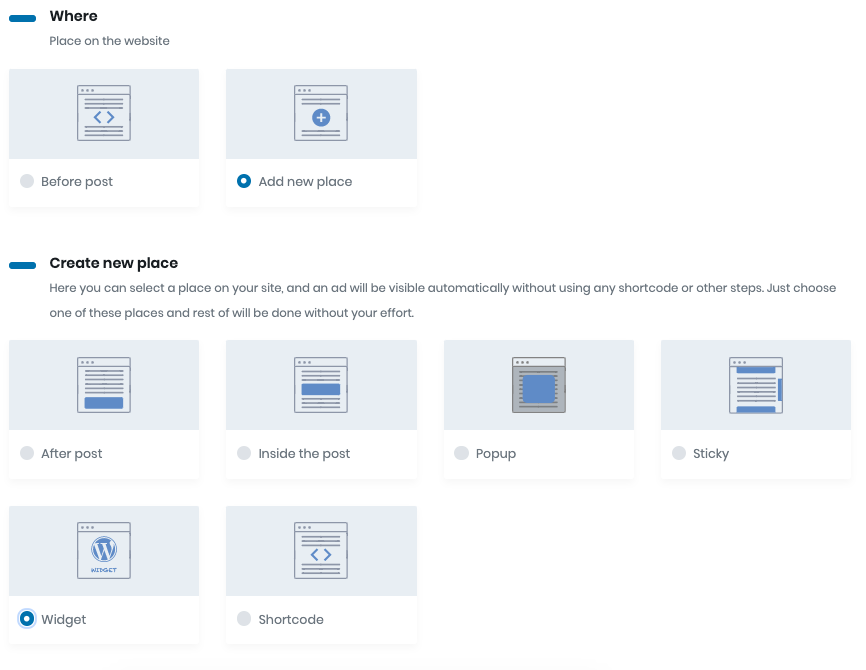
In this part of the article, we’ll show you how to insert an ad into a sidebar and include it in an existing campaign. The process of inserting an ad into a sidebar was already described in another post. The steps are similar to inserting an ad before the post, but we select a different placement and the way the ad is ascribed to the campaign.
From the list of placements in the ‘Where’ section, you need to select ‘Add new place’, pick ‘Widget’ and name it (or leave the automatically assigned name).
In the section ‘When’ you need to select the “Campaign already exists. Please let me choose.” Option. It will ascribe your newly created advert to a campaign that has already been created. You select the campaign from the list and save it. Finally, you need to place your advert in the right widget in the sidebar.
And this way, you have added two adverts and ascribed them to the newly created advertising campaign in WordPress.
How to Ascribe Existing Ads to a Campaign?
Another approach in AdFoxly allows you to create a campaign out of already existing ads in your WordPress site.
First, you need to go to the ‘Campaigns’ tab and select the ‘Add new campaign’. The creator of the new campaign will then open. Similarly as when creating a new ad, you need to name your campaign and specify the maximum numbers of views and clicks, as well as the dates of start and end of the campaign. Then, you choose the adverts you want to belong to this campaign.